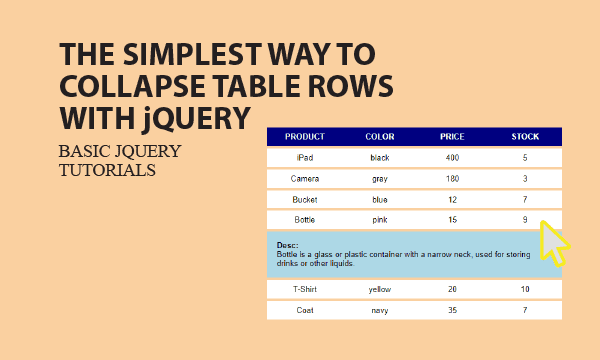
We design a table that can collapse details for each row. From that, you will learn what jobs jQuery does to make this example the simplest. Let us focus on the detection of html elements groups by CSS classes, and the usage of jQuery function .toggle().
All codes here are not complicated, so you can easily understand even though you are still students in school. To benefit your learning, we will provide you download link to a zip file thus you can get all source codes for future usage.
Estimated reading time: 6 minutes
EXPLORE THIS ARTICLE
TABLE OF CONTENTS
BONUS
Source Code Download
We have released it under the MIT license, so feel free to use it in your own project or your school homework.
Download Guideline
- Prepare HTTP server such as XAMPP or WAMP in your windows environment.
- Download and unzip into a folder that http server can access.
SECTION 1
Table Design for Collapse
First, we have to choose a style of table row collapse in design. Beside column data in a row, there should be an extra space shown in a proper location or hidden if users do not want it.
Merge Columns in a Row
Sometimes, people would like to inspect details in rows of a table such as product description or even pictures that may shift data format if inserted in a row. Briefly, this article has a suggested design about that.
You can prepare an additional row corresponding to each row, but that row should have only one column allowing enough space for long text or pictures. Moreover, we give you the simplest codes to implement it.
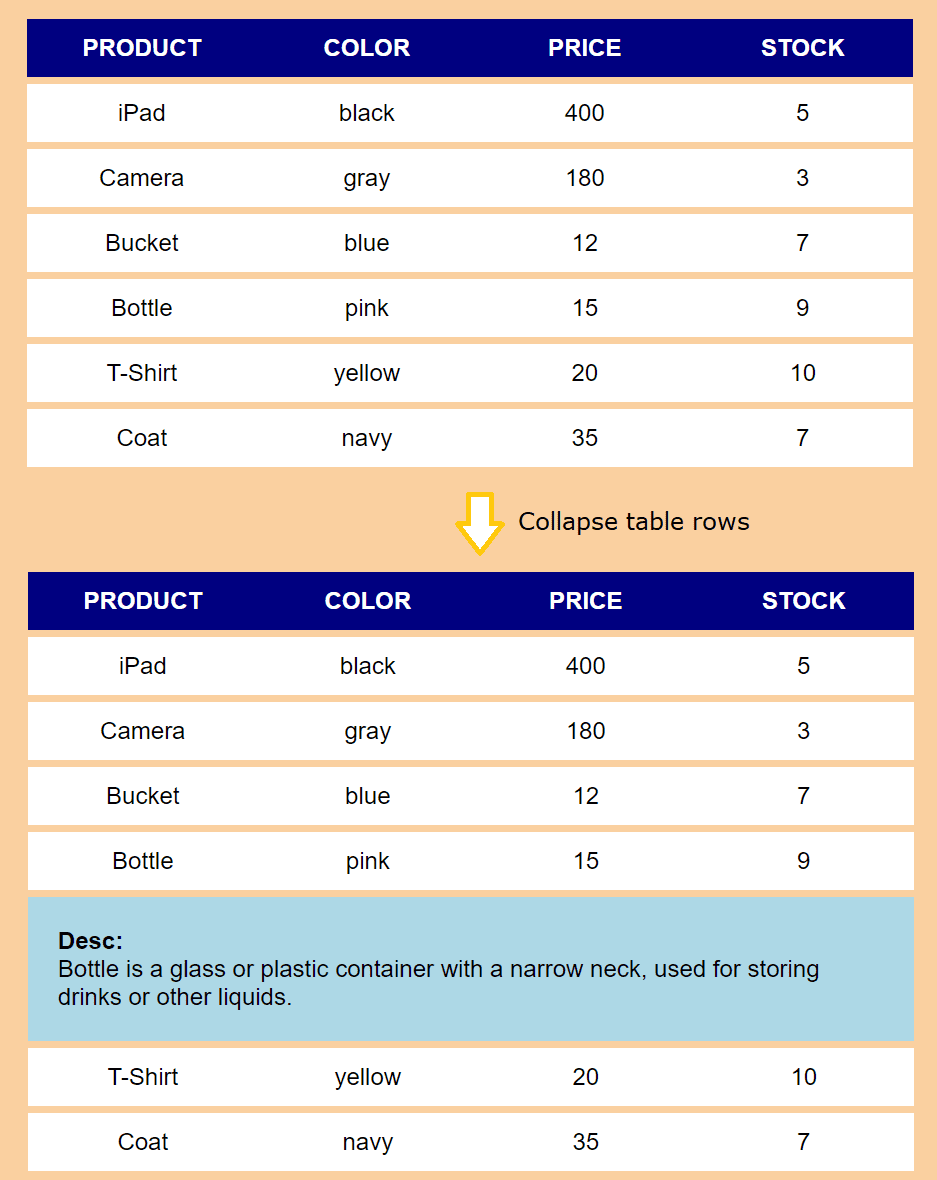
In a straight-forward way, we add a hidden collapse element just below each row in a table. Once a row is clicked, the collapse element appears to display details about that row. The collapse element is the one merging all columns in a row to be a cell by colspan, as the graphic illustrated.
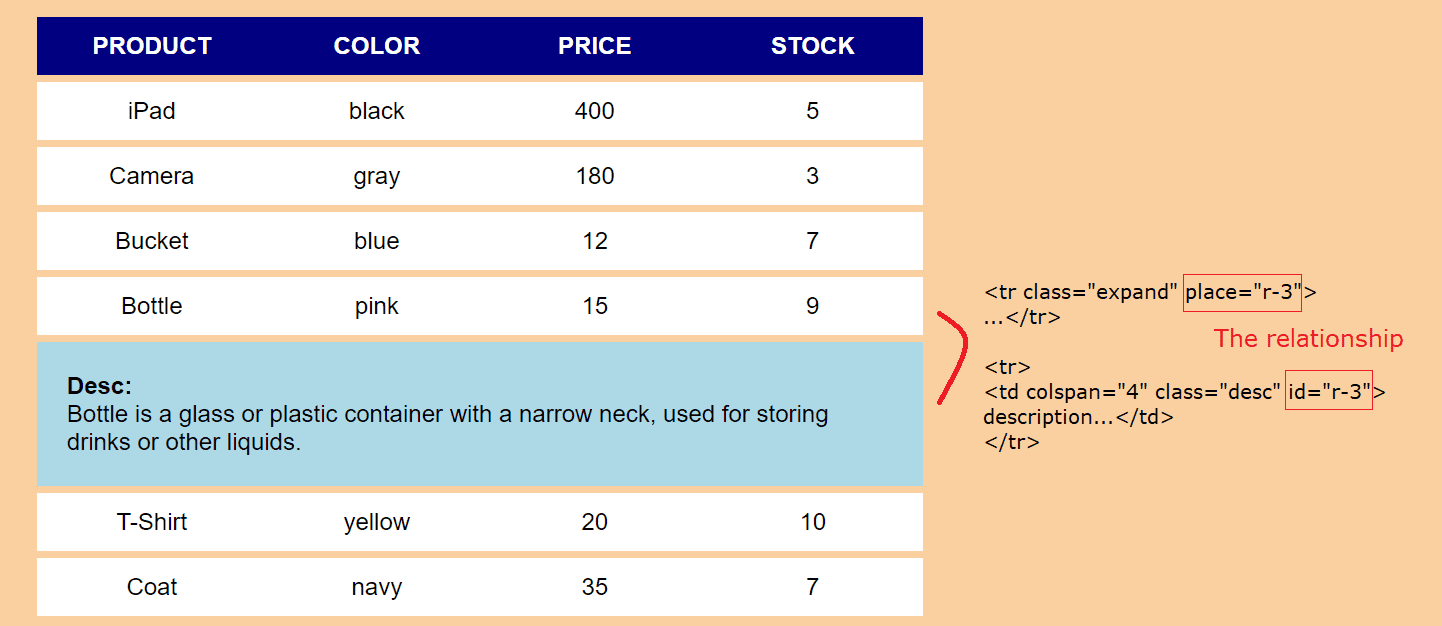
Link Two Rows with Attributes
There should be a link between the table row and the collapse cell. The example html attribute place="r-3" and id="r-3" as below make the relationship clear.
We generate table using server data as in most real applications, data come from server-site php scripts, instead of in html scripts. The tabular format $products = array(...) allows developers modifying data more easily than embedded data in html codes.
<?php
$title = array("PRODUCT", "COLOR", "PRICE", "STOCK");
$products = array(
["iPad", "black", 400, 5, "iPad is popular product of Apple Inc."],
["Camera", "gray", 180, 3, "Camera is an optical instrument used to record images."],
["Bucket", "blue", 12, 7, "Bucket is usually an open-top container."],
["Bottle", "pink", 15, 9, "Bottle is a glass or plastic container with a narrow neck, used for storing drinks or other liquids."],
["T-Shirt", "yellow", 20, 10, "T-Shirt is a style of fabric shirt named after the T shape of its body and sleeves."],
["Coat", "navy", 35, 7, "Coat is a garment worn on the upper body by either sex, for warmth or fashion."]);
?>
In html table, each collapse cell is formed by merging columns using colspan='$last'. Now, let us focus on the relationship links. In the following codes, place='r-$key' and id='r-$key' play roles about that.
<table>
<!-- Title -->
<tr><?php foreach($title as $data) echo "<th>$data</th>"; ?></tr>
<!-- Rows -->
<?php foreach($products as $key=>$data) {
    echo "<tr class='expand' place='r-$key'>";
    $last = count($data) - 1;
    foreach($data as $kk=>$field) {
        if($kk == $last) $desc = "<strong>Desc:</strong><br>$field";
        else echo "<td>$field</td>";
    }
    echo "</tr><tr><td colspan='$last' class='desc' id='r-$key'>$desc</td></tr>";
} ?>
</table>
SECTION 2
Collapse using jQuery
Next, let us learn how to detect the specific row users clicked to decide candidate collapse cell to show or hide. CSS class and jQuery function .toggle() plays critical roles here.
Detect Clicks by Class
Table collapse is done by clicks. Each click displays or hides the collapse cell. jQuery can detect clicks by individual id in each row, or just detect a specific class. We choose the latter one.
Each table row assiciated with a collapse cell belongs to the class expand, for example, <tr class='expand'>. The jQuery element $('tr.expand') keeps listening each happened click.
$(document).ready(function() {
    $('tr.expand').on("click", function() {
        ele = "td#" + $(this).attr("place");
        /* duration:
           "fast" or 200 for FAST easing
           "slow" or 600 milliseconds for SLOW easing
        */
        duration = null;
        $(ele).toggle(duration);
    });
});
Once detected, retrieve its attribute place used as id to search for the <td> to toggle. Then collapse cell will appear or disappear in the table.
Table Collapse Speed
Moreover, let us introduce the simplest way to show/hide an element. The jQuery function .toggle() that can switch visibility of elements even with customized easing speeds, as shown in the above codes.
Brief CSS Classes
We just design UI for table rows with tr.expand, and for collapse cells with td.desc. In addition, responsive web layout is provided using @media.
body {background:#FAD0A0; font-family:Arial; font-size:1em}
table {width:600px; border-collapse:collapse; margin:5%;}
table, tr, th, td {border:5px solid #FAD0A0; padding:10px; background:white;}
table tr th {width:160px; background:navy; color:white;}
tr.expand td, th {border-style:solid none solid none; text-align:center;}
tr.expand td:hover {cursor: pointer;}
td.desc {display:none; background:lightblue; padding:20px;}
@media only screen and (max-width: 720px){
    table {margin:10%; width:80%}
}
FINAL
Conclusion
The simple and short example gives you a reference for projects or homeworks. Thank you for reading, and we have suggested more helpful articles here. If you want to share anything, please feel free to comment below. Good luck and happy coding!
Learning Tips
Let us suggest a excellent way to learn HTML scripts here. Using Google Chrome F12 Inspect or Inspect Element will help you study the codes.
In Google Chrome, there are two ways to inspect a web page using the browser built-in Chrome DevTools:
- Right-click an element on the page or in a blank area, then select Inspect.
- Go to the Chrome menu, then select More Tools > Developer Tools.
Suggested Reading
- jQuery Toggle Div and Table Row/Column in 5 Demos
- Tips for Making Endless Page Scroll Against Pagination
TRY IT
Quick Experience
That is all for this project, and here is the link that let you experience the program. Please kindly leave your comments for our enhancement.
Try It Yourself
Click here to execute the source code, thus before studying the downloaded codes, you can check whether it is worthy.