You will learn how to customize the app’s icon and splash from config.xml in Cordova projects. Also, if config.xml defines the plugins used, Cordova will auto install them during the app building process. Free download and walk through a demo for quick start.
All codes here are not complicated, so you can easily understand even though you are still students in school. To benefit your learning, we will provide you download link to a zip file thus you can get all source codes for future usage.
Estimated reading time: 5 minutes
EXPLORE THIS ARTICLE
TABLE OF CONTENTS
BONUS
Source Code Download
We have released it under the MIT license, so feel free to use it in your own project or your school homework.
Download Guideline
- Prepare HTTP server such as XAMPP or WAMP in your windows environment.
- Download and unzip into a folder that http server can access.
SECTION 1
Cordova Configuration File
The file config.xml in Cordova project controls an app’s basic settings. Briefly, let us inspect the configuration for plugin, icon, and splash.
Cordova CLI Creating a Project
Let us create a project using Cordova CLI(Command Line Interface). The command line below will generate the folder iconset, iconset/www and the file iconset/config.xml.
c:\>cordova create iconset com.easycodeshare.iconset "Customize Icon"
Where com.easycodeshare.iconset is the identifier, and Customize Icon is a human-readable name. The cordova config.xml records both of them.
<?xml version='1.0' encoding='utf-8'?>
<widget
    id="com.easycodeshare.iconset"
    version="1.0.0"
    xmlns="http://www.w3.org/ns/widgets"
    xmlns:cdv="http://cordova.apache.org/ns/1.0">
    <name>Customize Icon</name>
    <!-- all other contents -->
</widget>
Plugin Tag in XML
For Cordova plugins, you can install them before building, or just modify config.xml to specify the plugins your Cordova project has included.
<plugin name="cordova-plugin-camera" spec="~5.0.0" />
<plugin name="cordova-plugin-splashscreen" spec="~6.0.0" />
Indicating plugins in config.xml will result in auto installation during the building process of apps.
The config.xml in the downloaded zip file is a complete version, so you can replace iconset/config.xml with it.
Icon Tag in XML
Under <platform name="android"> in config.xml, you can assign individual icon for each density. Cordova has suggested the correspondence between image resolution such as 72×72 and density such as hdpi.
<icon src="www/icons/icon72x72.png" />
<icon src="www/icons/icon36x36.png" density="ldpi" />
<icon src="www/icons/icon48x48.png" density="mdpi" />
<icon src="www/icons/icon72x72.png" density="hdpi" />
<icon src="www/icons/icon96x96.png" density="xhdpi" />
<icon src="www/icons/icon144x144.png" density="xxhdpi" />
<icon src="www/icons/icon192x192.png" density="xxxhdpi" />
![]()
Splash Tag in XML
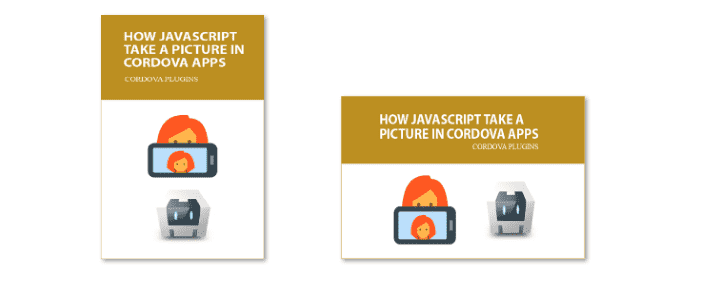
Under <platform name="android">, you can also add splash screens for decoration in Cordova. Remember to consider both portrait and landscape directions.
<splash src="www/splash/splash720x1280.png" />
<splash src="www/splash/splash320x480.png" density="port-mdpi" />
<splash src="www/splash/splash480x800.png" density="port-hdpi" />
<splash src="www/splash/splash720x1280.png" density="port-xhdpi" />
<splash src="www/splash/splash480x320.png" density="land-mdpi" />
<splash src="www/splash/splash800x480.png" density="land-hdpi" />
<splash src="www/splash/splash1280x720.png" density="land-xhdpi" />
SECTION 2
Cordova Building Process
Walking through an example, you will realize the Cordova building process, and customize your app with awesome icon and splash by config.xml.
Cordova CLI Building a App
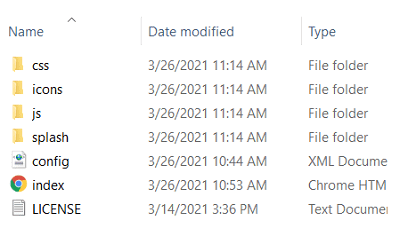
In the previous section, Cordova CLI has created the folder iconset/www as the default place of your source codes. Make the folder empty and extract downloaded zip file into it. Here is the structure of our example. You can move the config.xml to its parent directory for replacement.
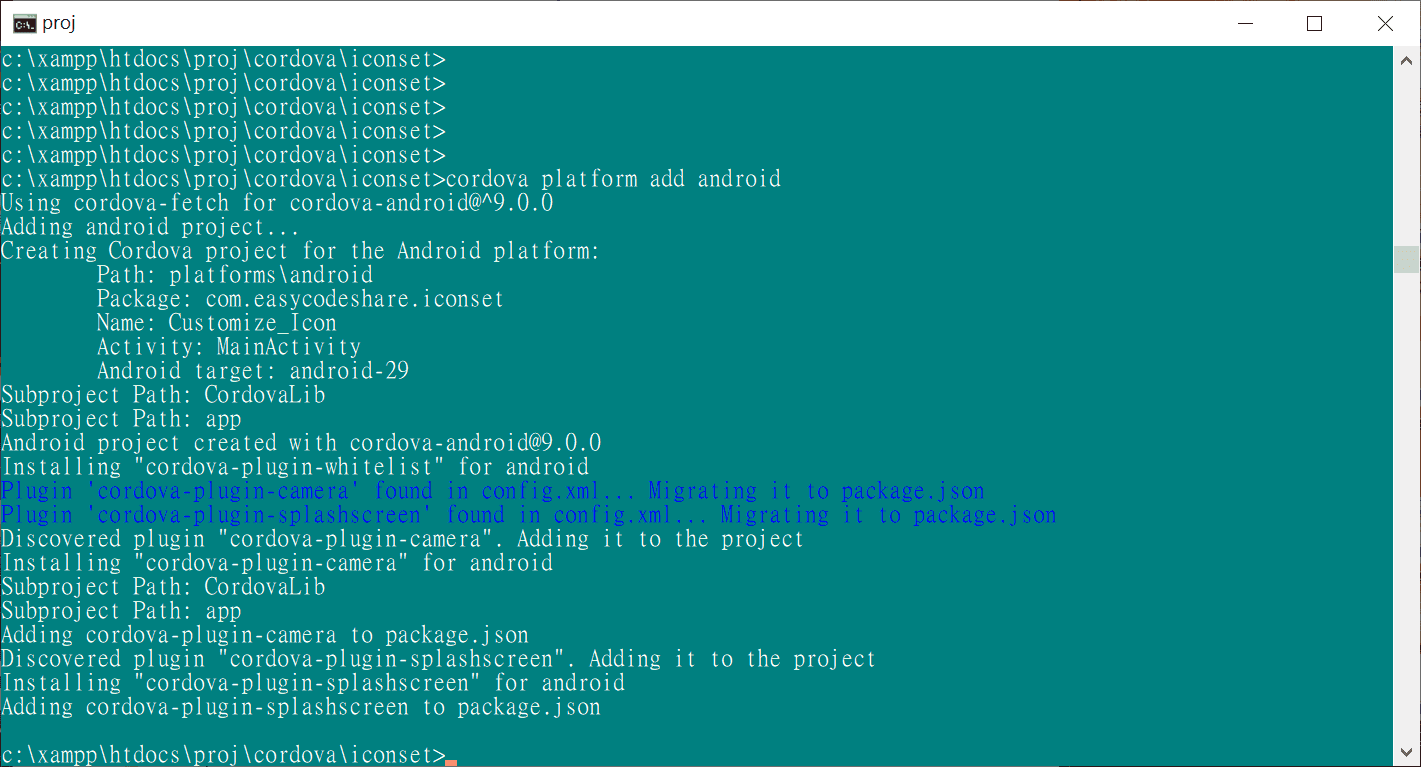
Let us add Android as your platform now.
c:\>cordova platform add android
The command box below shows that if plugins defined in config.xml are not existed, installation will automatically perform.
Finally, build a apk file for debug or release version by issuing commands.
c:\>cordova build android
or c:\>cordova build android --release
Quick Review – An Camera Plugin Example
When device is ready, you can touch the button shot to get picture by camera. Once photo is taken, choose yes to display it on the screen.
document.addEventListener('deviceready', onDeviceReady, false);
function onDeviceReady() {
    // Cordova is now initialized. Have fun!
    console.log('Running cordova-' + cordova.platformId + '@' + cordova.version);
    // Camera is ready to shot
    $('#shot').on("click", function() {
        navigator.camera.getPicture(onSuccess, onFail, {
            quality: 50,
            correctOrientation: true,
            destinationType: Camera.DestinationType.DATA_URL,
        });
    });
}
$(document).ready(function() {
    // Show splash screen
    navigator.splashscreen.show();
    window.setTimeout(function () {
    navigator.splashscreen.hide();
    }, 5000); // mini-seconds
});
function onSuccess(img) {
    var image = document.getElementById('myimg');
    image.src = "data:image/jpeg;base64," + img;
}
function onFail(error) {
    alert('Failed : ' + error);
}
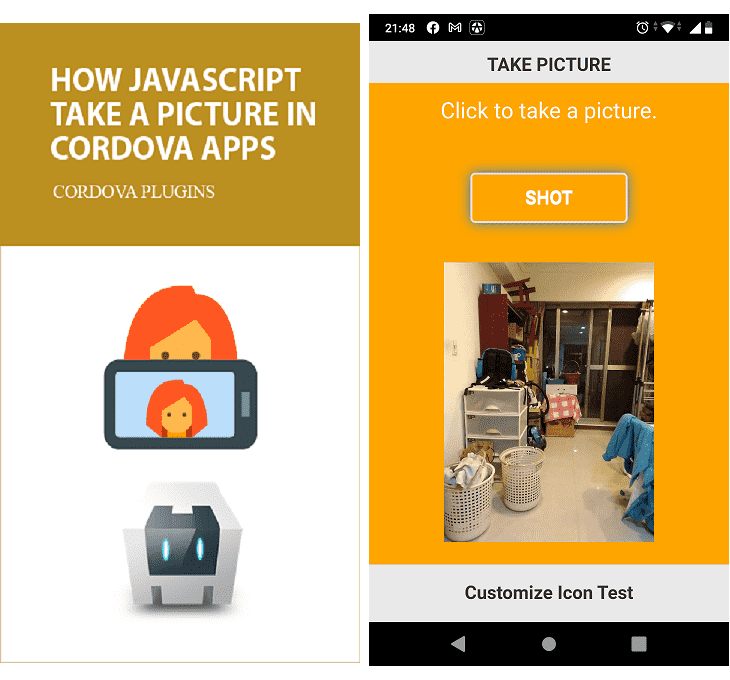
The left picture is the splash screen when the app starts up. In JS scripts, we show splash in $(document).ready(), rather than in onDeviceReady(). The reason is that when multiple apps running in your mobile phone, turning an app from background to foreground will also trigger the device ready event. That is, the onDeviceReady() event will present not only at start-up time, but also at app’s wake-up time. We don’t want to show splash so frequently.
If you want to read more about Cordova developing environment setup, and building process, refer to our other article of 3 Steps Cordova Build APPs from jQuery Mobile.
FINAL
Conclusion
This is a simple but important topic for creating an Cordova app, as the final exhibition of your app should express the central idea that can be decorated via icon and splash.
Thank you for reading, and we have suggested more helpful articles here. If you want to share anything, please feel free to comment below. Good luck and happy coding!
This really helped my project.. thanks a lot
Glad to heard that. We would keep walking in such a field.